
Read the active project source
Open the community MouseHook repository and release notes; confirm the build is intended for the feature and game you are testing.
keyboard and mouse input guide
Xenia MouseHook is a community build path for people who want keyboard-and-mouse input in selected Xenia scenarios. It is not a universal switch inside every standard Xenia Canary build, and it does not make every Xbox 360 game behave like a native PC game. Start with the current project source, keep the MouseHook folder separate from your normal emulator, test one title at a time, and keep a rollback path before changing profiles or patches.
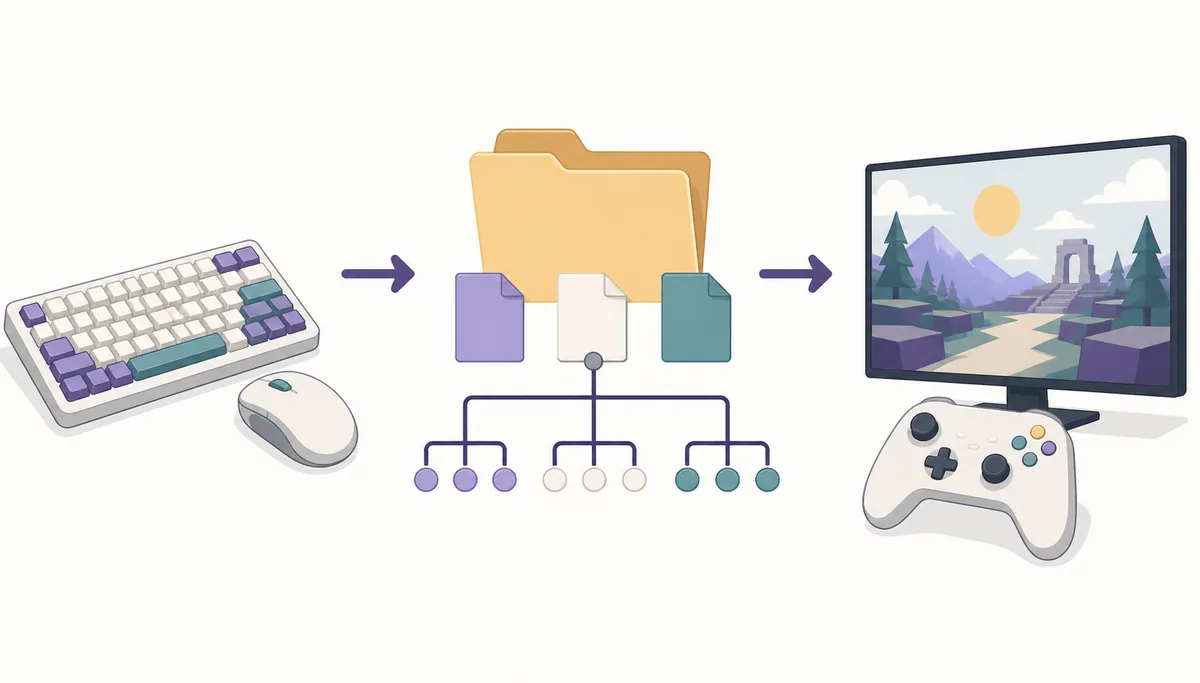
| Need keyboard and mouse input | Use the community MouseHook project and read its current notes before choosing a build. Do not assume a regular Canary archive includes the same changes. |
|---|---|
| Need a normal controller | Start with the standard Xenia input path. Use XInput for Xbox-compatible pads and see the controller setup guide before adding a second input layer. |
| Need a game-specific fix | Check the compatibility list and title notes first. Keyboard and mouse support can vary by game, build and input mode. |
| Need a safe update | Keep the working folder, profiles and saves intact. Put a new build beside it and compare the same scene before replacing anything. |
| Download boundary | This page links to project and release sources only. It does not provide ROMs, ISOs, game files, BIOS files or copyrighted DLC. |
quick answer
Xenia MouseHook refers to a community-maintained Xenia Canary code and release path that adds MouseHook-related input behavior for particular games and test cases. The practical difference is that you are selecting a specific project build, not merely turning on a hidden keyboard option in the normal emulator. Read the repository and release notes as the authority for the build you actually download.
The safest expectation is limited support. A game may accept mouse movement but still show controller prompts, miss a menu action, or require a per-game workaround. Some titles can behave differently after a build update, so record the game revision, build tag, renderer and input device before deciding that the feature works or fails.
source and version
The official Xenia Canary release channel and the community MouseHook repository are different sources. The official Canary release checked on August 22, 2026 was tag a5262a9; the current Xenia Manager release checked on August 20, 2026 was 4.3.2. Those checks are time-stamped references, not a promise that the tags will stay newest. For MouseHook, open the community repository and its release history, then confirm that the archive and notes match the feature you need.
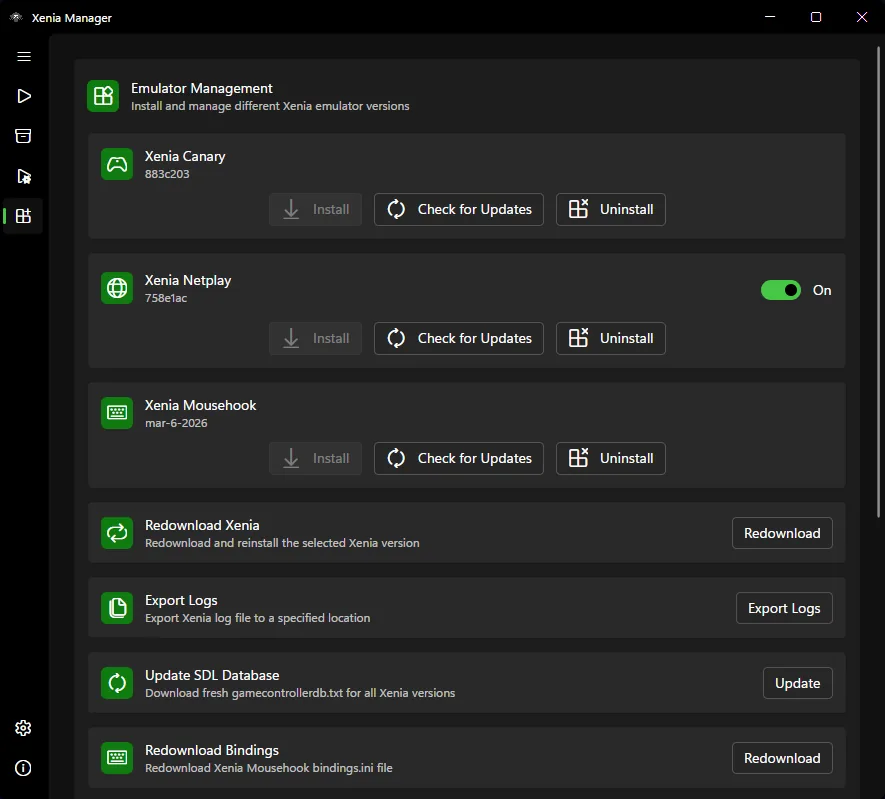
Use Xenia Manager 4.3.2 to organize builds only when its current release and your project workflow support that path. Add the MouseHook executable as a separate emulator entry or folder. Do not point a normal Canary entry at a MouseHook executable and do not overwrite a known-good config just to make the new build appear in the library.
configuration
Connect the keyboard and mouse before launching the selected emulator. Test the devices in Windows first, then start MouseHook with a clean profile. If the devices are not available to Windows, changing an emulator setting will not repair a driver, USB, Bluetooth or permission problem. Close remappers and overlays during the first test so the input path has one clear owner.
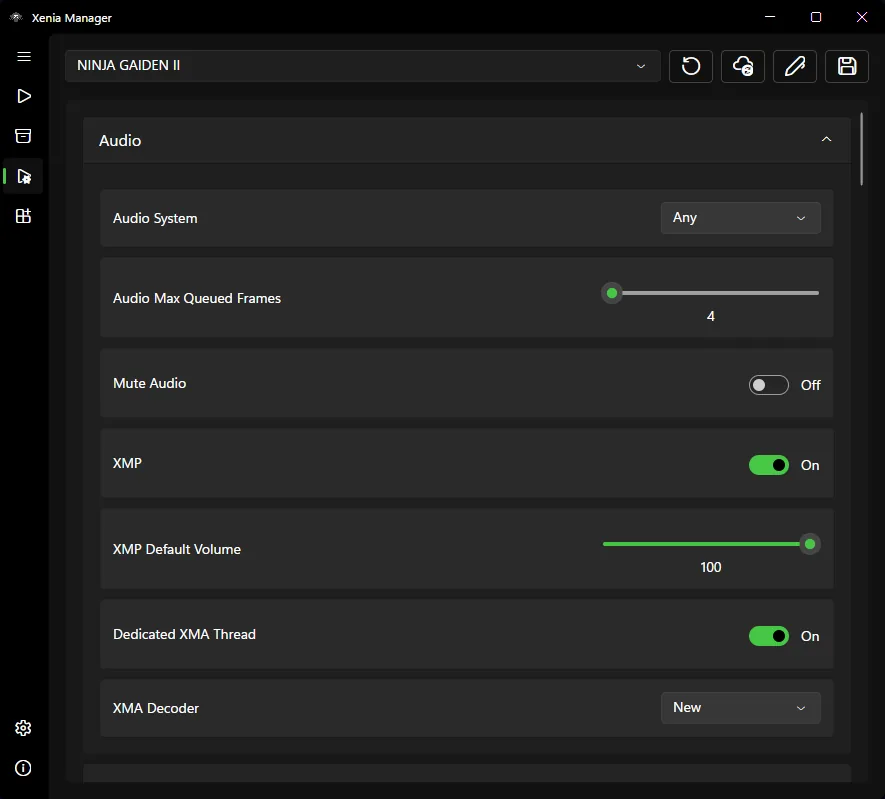
Use the Xenia Manager settings editor to locate the selected build and its input-related options, but avoid changing unrelated graphics, audio and patch values at the same time. The goal of the first run is not maximum performance. It is to prove that the intended executable sees the intended devices and that a repeatable game scene receives the expected movement or button events.
keyboard controls
The phrase Xenia keyboard controls is broader than MouseHook itself. A keyboard may be accepted as a fallback input device, while MouseHook adds behavior that a particular title needs for camera movement or aiming. Start with a simple scene: open a menu, move the character, move the camera and use one action button. Write down which parts work and whether the game still displays controller prompts.
If the game accepts input but the camera feels wrong, change one variable at a time. Check the project notes for known mappings, sensitivity behavior and title-specific limitations. Do not copy a control profile from another title until you know the game revision and build match; a working mapping in one game is not evidence that the same mapping is correct everywhere.
compatibility
A successful launch is not the same as a successful keyboard-and-mouse implementation. A title can boot, render and accept a few buttons while still failing its camera, menus, cutscenes or multiplayer path. Use the Xenia compatibility list to record the title, region or Title ID, game revision, emulator tag, renderer and exact test result.
When a game needs a patch, Title Update or special profile, apply it only after the clean MouseHook baseline is understood. If the issue appears only in one title, do not rewrite global input settings first. Check the game notes, remove unrelated patches, and repeat the same scene with the same build before reporting a general MouseHook failure.
troubleshooting
If MouseHook does not start, first verify that you launched the intended executable from the intended folder. Check that the archive extracted completely, the folder is writable, Windows security did not quarantine a file, and the manager entry points to the real executable rather than the download archive. Then test the same build outside the manager so you can separate an emulator problem from a library-path problem.
If the build launches but the mouse is ignored, close duplicate input layers and test the devices in Windows. If the keyboard works but camera movement does not, treat that as a game or feature limitation until the project notes say otherwise. If a new build breaks a previously working test, keep the old folder, restore the old profile and repeat the same scene before changing graphics or patches.
rollback
Community builds can change faster than a normal stable workflow. Once a MouseHook test works, keep the exact archive, folder name, profile and notes that produced the result. Do not delete the normal Canary folder or replace all game entries immediately. A separate baseline makes it possible to tell whether a later failure came from a new build, a changed configuration, a patch or the game itself.
Use the Canary update guide for the same backup-and-compare discipline: preserve the working build, update one layer, run one repeatable test and roll back when the result regresses. If saves are involved, follow the save-file backup guide before moving content folders.
controlled setup
Open the community MouseHook repository and release notes; confirm the build is intended for the feature and game you are testing.
Keep MouseHook away from your normal Master or Canary folder so rollback does not require rebuilding the whole library.
Copy the relevant content folder and note the current Xenia Manager entry before launching the new executable.
Verify the keyboard and mouse in Windows, close duplicate remappers and start with a clean profile.
Check menu, movement, camera and one action separately; record what works instead of using only a boot result.
Save the working combination, or return to the previous folder and profile when the new build regresses.
related Xenia guides
Separate normal XInput or SDL controller problems from MouseHook-specific keyboard and mouse tests.
Set up controllersStart from a conservative global and per-game configuration before changing input variables.
Review settingsUnderstand official Canary releases, separate folders and the difference between standard and community builds.
Read Canary guideRecord game, build and input results instead of treating a successful boot as full compatibility.
Check compatibilityBack up the working build and compare one repeatable scene after an update.
Review rollbackMouseHook FAQ
Do not assume so. MouseHook refers to a community build path with its own source and release notes. Keep it in a separate folder and use the active project documentation to confirm which executable contains the behavior you need.
Some Xenia scenarios and community builds can accept keyboard-and-mouse input, but support is game- and build-specific. Test menu, movement, camera and actions separately instead of treating a successful launch as proof that every control works.
Read the current community project notes, extract the build into a separate folder, back up profiles and saves, connect the devices before launch and test one repeatable scene with a clean profile. Keep the exact build when the result works.
The title or build may support only part of the input path, or another remapper may be intercepting mouse events. Test Windows device detection, close duplicate layers, check the project notes and repeat the same scene before changing global settings.
Use the path that the title and your play style support reliably. A standard controller is usually the easier baseline; MouseHook is useful when the specific game and community build provide a meaningful keyboard-and-mouse path.
Do not assume it does. Xenia Manager 4.3.2 can organize emulator entries and related compatibility information, but the MouseHook build still comes from its own community project source. Point the manager to the correct executable and keep the folder separate.
No. Booting, rendering and partial input do not guarantee complete compatibility. Record the game revision, build tag, renderer and exact controls that work, then check project notes and compatibility reports for the title.
This site does not provide games, ROMs, ISOs, BIOS files or copyrighted DLC. Use legally obtained content and use the official or community project source only for the emulator build and its documentation.